The Defrost Heater: Troubleshooting, Replacement, Cost of Fixing
A refrigerator is a complex assembly of various components working in harmony, with the defrost heater playing a crucial role. This component prevents your refrigerator from turning into an icebox, ensuring optimal performance. When it malfunctions, a host of issues arise, from frost build-up to impaired cooling. This blog will explore the problem of a malfunctioning heater, the potential solution, and the associated costs.
Understanding the Defrost Heater's Function and Common Issues
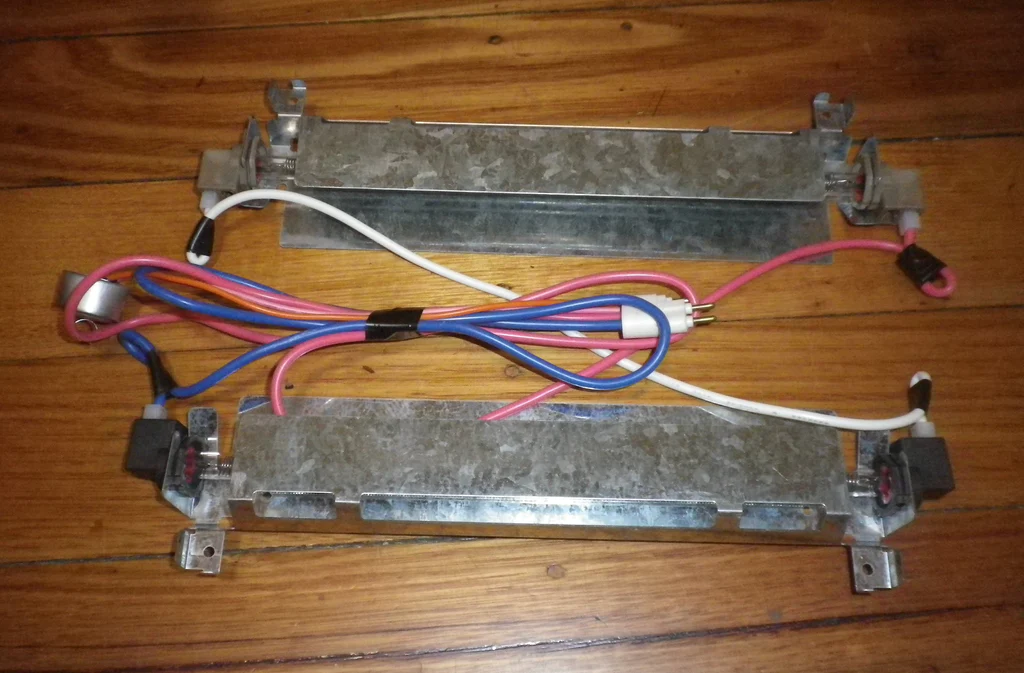
The defrost heater in a refrigerator is responsible for melting frost that accumulates on the evaporator coil. This prevents the coil from freezing, allowing the refrigerator to maintain consistent cooling. When the this part fails, you may notice excessive frost in the freezer, warmer than usual temperatures in the fridge, or even a noisy fan due to ice build-up.
Diagnosis: Confirming a Defrost Heater Issue
Determining whether your part is the source of the problem can often be accomplished through a combination of visual inspection and functional testing.
Visual Inspection
Your first clue to a problem might be a visual one. One of the most common symptoms of a faulty heater is excessive frost or ice buildup in the freezer.
This happens because the part isn't melting the frost on the evaporator coils, causing an icy buildup. If you open your freezer and see frost accumulating, particularly around the back wall, it could be a sign of a failing part.
Functional Testing
Functional testing involves using a multimeter, a handy tool for diagnosing a range of electrical appliance issues. To test the heater, you need to access it. In most refrigerators, this involves removing the back panel of the freezer.
Once you've located the heater, you'll need to disconnect it. Ensure your refrigerator is unplugged from the power source before doing this. Now, set your multimeter to the lowest resistance scale (usually represented by the ohm symbol on the multimeter) to measure resistance.
Attach the multimeter probes to the heater terminals. A good defrost heater typically shows a resistance between 20 and 50 ohms. If the multimeter doesn't show any resistance, or the resistance is far from this range, the heater is likely faulty and needs to be replaced.
Safety First
Always put safety first when diagnosing appliance issues. Unplug your refrigerator before starting any work, and be careful when working around sharp edges inside the freezer. If you're not confident about diagnosing the problem yourself, consider hiring a professional. An experienced technician has the training and tools to safely and accurately diagnose the issue.
Remember, the goal of the diagnosis is to identify the problem accurately. Misdiagnosis can lead to unnecessary costs and potential damage. It's always better to consult a professional if you're unsure at any stage of the diagnosis.
Solution: Replacing the Defrost Heater
Once you have established that the appliance part is indeed malfunctioning, the next logical step is to replace it. This process can be straightforward or complex depending on your refrigerator model and your level of comfort with appliance repair. As always, consult your refrigerator's manual for model-specific instructions.
Preparation
Before you begin the replacement process, it's essential to gather all necessary tools and materials. This usually includes a new heater, a screwdriver, and perhaps some needle-nose pliers. Make sure you have a safe, clear space to work in and that your refrigerator is unplugged.
Steps for Replacement
- Access the Defrost Heater: To access the heater, you'll typically need to remove the back panel of your freezer. This usually involves unscrewing the panel.
- Remove the Old Heater: Once you have located the heater, carefully disconnect it. This may require needle-nose pliers to detach any wire connections. Remember to be gentle and patient to avoid causing any damage.
- Install the New Heater: After removing the old heater, it's time to install the new one. This should be as simple as connecting it where the old heater was located. Make sure it is securely attached and all wires are connected correctly.
- Reassemble Your Refrigerator: After the new heater is installed, you'll need to replace the back panel and secure it with screws.
Professional Assistance: When to Call an Expert
When facing refrigerator issues, it's crucial to understand the limits of DIY. It's true that some tasks can be handled at home with a bit of guidance and the right tools. However, when dealing with more complex or risky tasks, it's often better to call in professional help.
Tasks Suited for DIY
Simple tasks, such as replacing a water filter or changing a light bulb, are usually manageable for most homeowners. These tasks typically don't involve working with complex mechanisms or electrical components and can be done following clear instructions from the appliance's manual.
Tasks Requiring Professional Help
However, when it comes to more intricate tasks, such as replacing a defrost heater or an ice maker module, professional help is often required. Working with electrical components can be hazardous if not done correctly, and incorrect assembly can lead to further damage or reduced efficiency.
Moreover, refrigerator mechanisms can be complex, and sometimes the problem isn't as straightforward as it seems. For instance, the issue might seem to stem from a faulty part, but in reality, it could be linked to the control board or another part. A skilled technician can diagnose and address such problems more effectively.
The Value of a Professional Technician
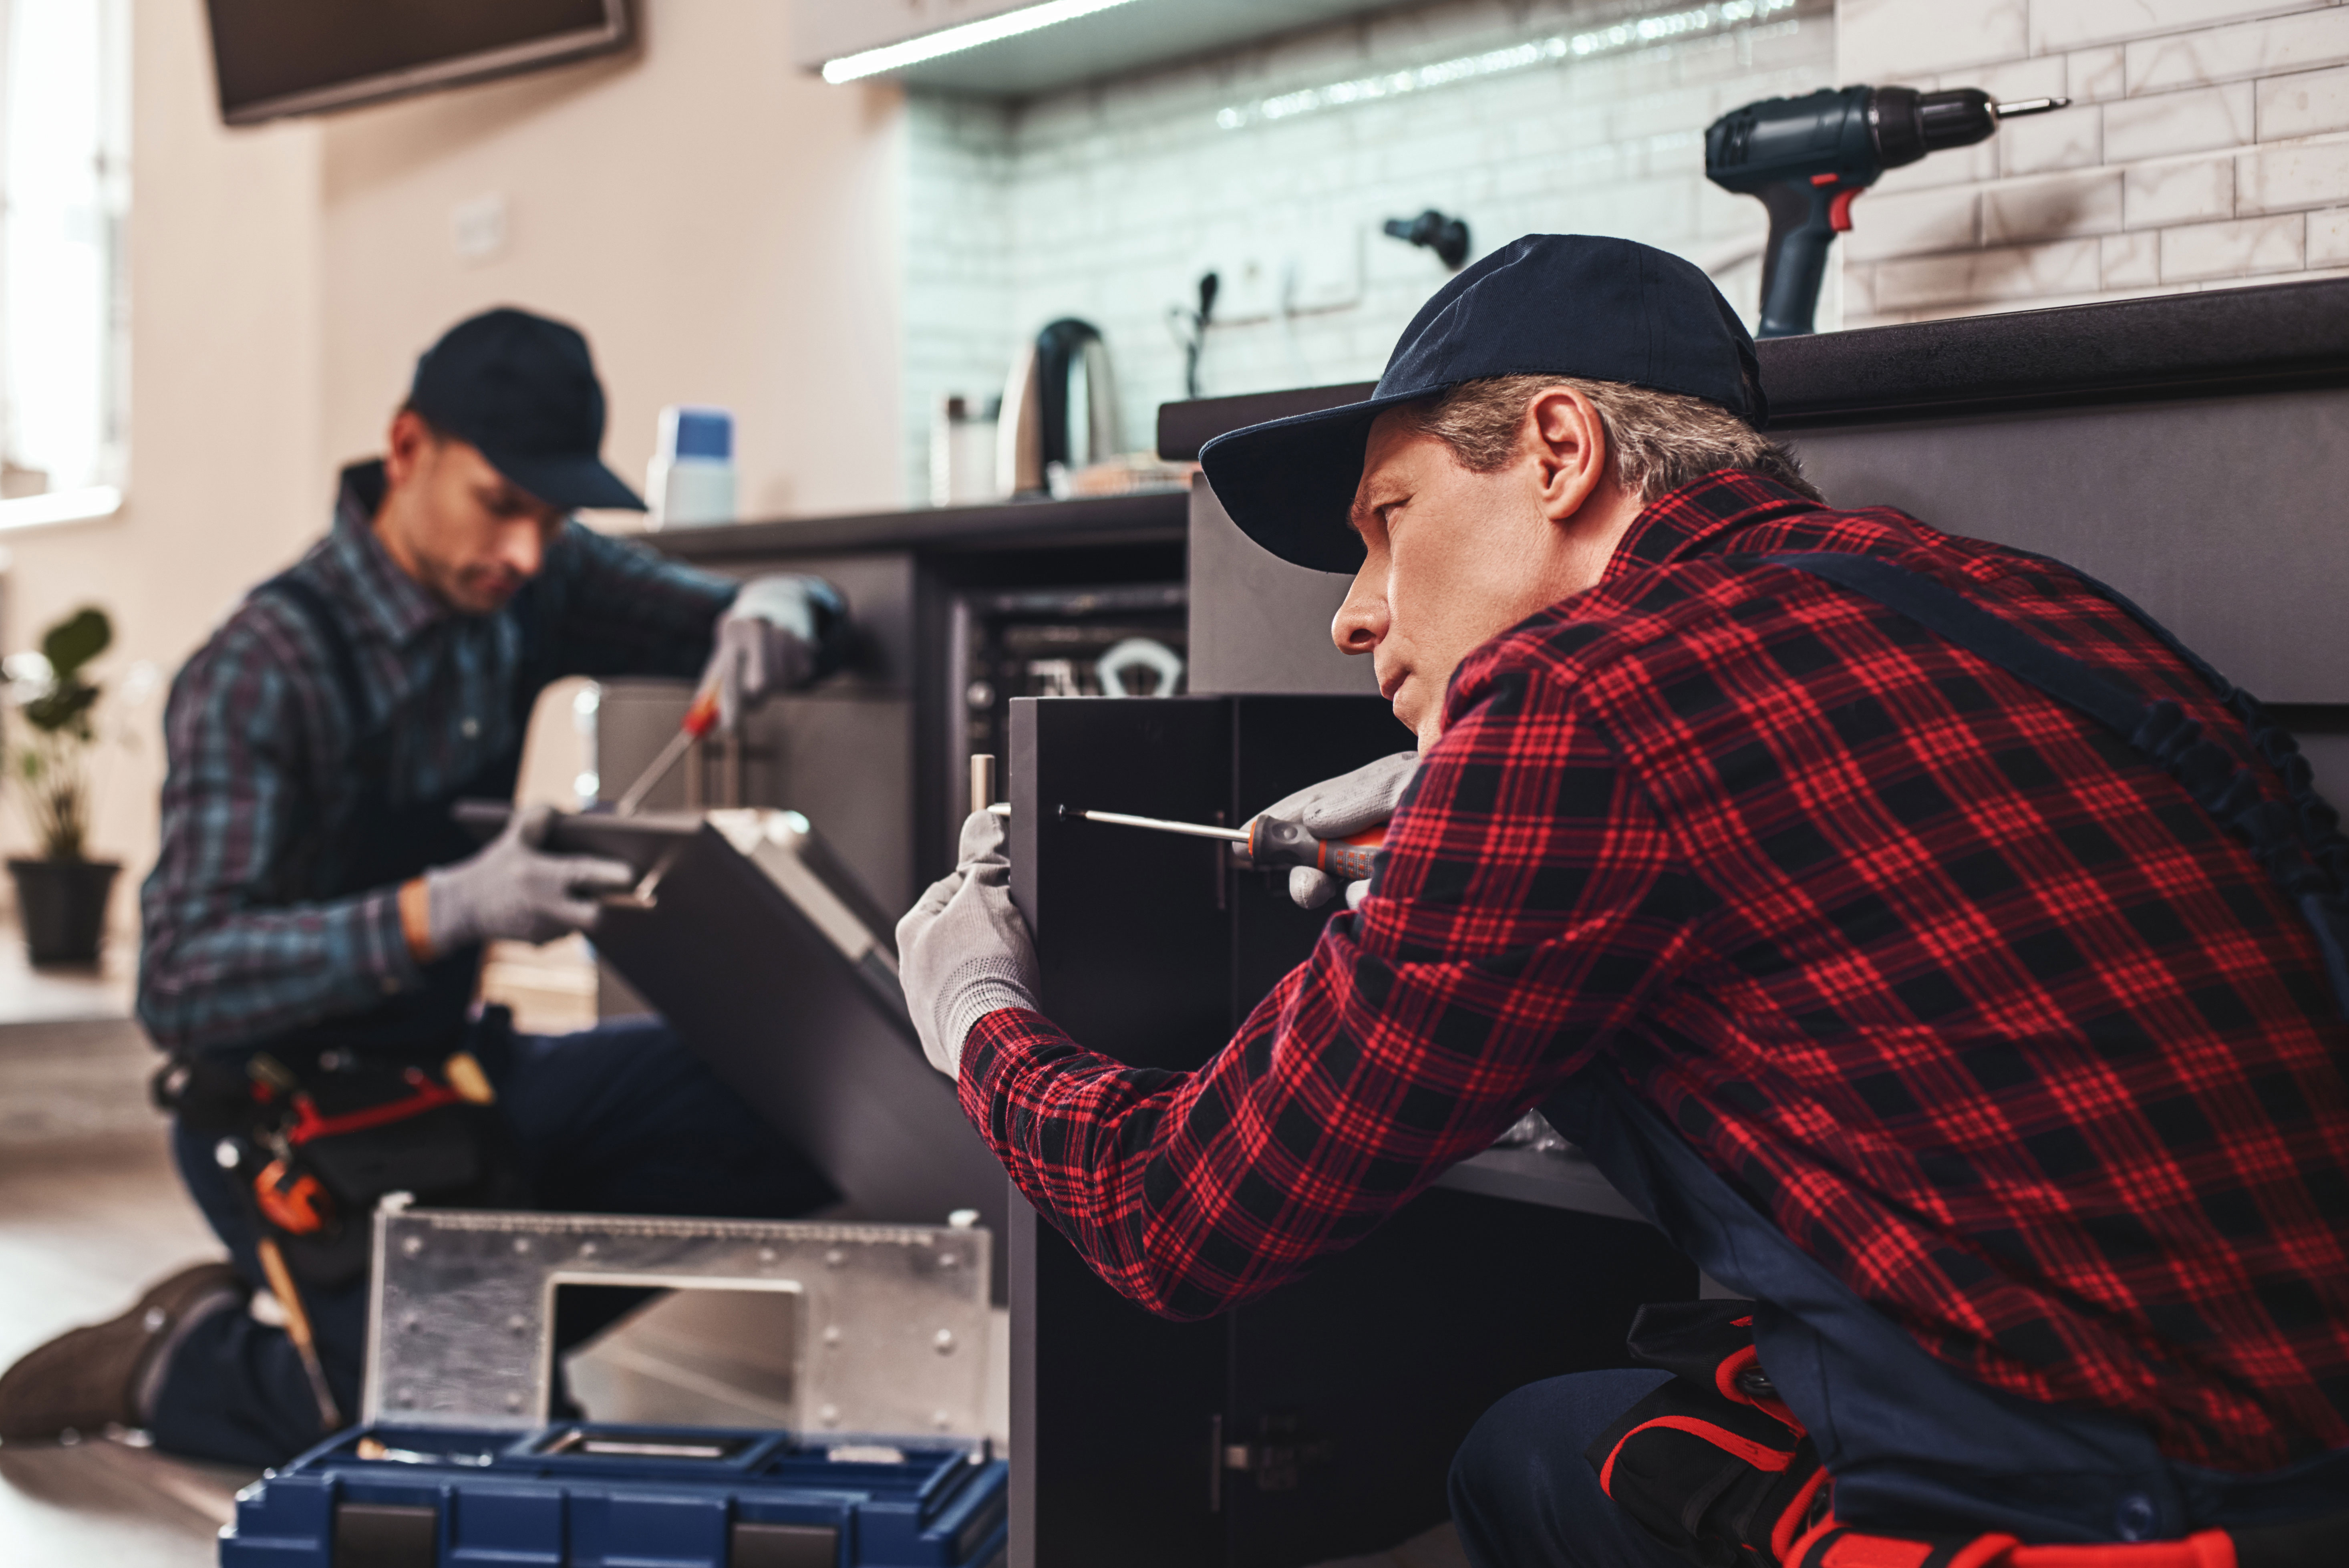
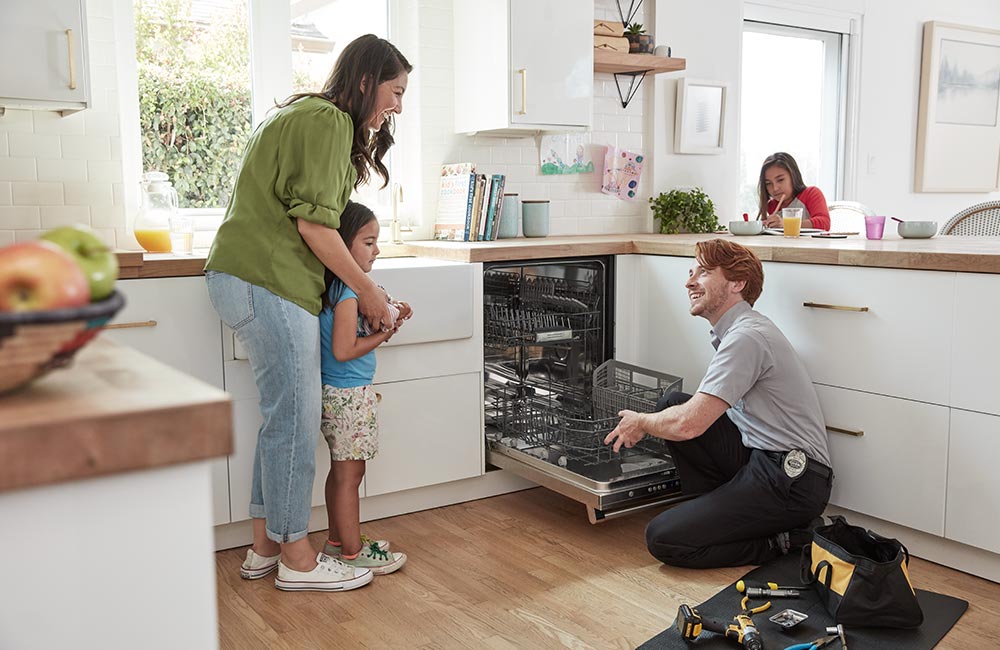
A professional appliance repair technician brings to the table a blend of experience, expertise, and the right tools for the job. They know how to safely disassemble and reassemble appliances, test for various malfunctions, and replace defective parts efficiently.
They're also equipped to handle unexpected issues that may arise during the repair process.
Furthermore, professionals often provide warranties for their work, giving you peace of mind that if the problem persists or reoccurs within a specified period, they will take care of it without additional charges.
Cost Estimation: The Expense of Replacing a Defrost Heater
The cost of replacing a defrost heater can range from $100 to $200, including both the part and labor costs. However, keep in mind that actual costs can vary based on factors such as your location, the specific model of your refrigerator, and the technician's charges.
Cost Breakdown
- Part Cost: The heater itself typically costs between $30 and $100. This wide range can be attributed to differences in refrigerator models, heater designs, and the retailer you choose to purchase from. It's always a good idea to shop around and compare prices to ensure you're getting a fair deal.
- Labor Costs: Labor costs vary greatly based on location, the job's complexity, and the technician's experience level. You can generally expect to pay between $70 and $100 per hour for a skilled technician. The replacement of a defrost heater is usually a fairly quick job, often taking less than an hour, but costs can increase if the job is complex or if other issues are found during the repair.
Additional Considerations
While the above figures provide a general estimate, keep in mind that actual costs may vary. Prices can be influenced by factors such as your geographical location and the specific model of your refrigerator. For example, if you live in a city where the cost of living is high, labor costs might be on the higher end of the range. Similarly, if your refrigerator is a high-end or rare model, the parts may be more expensive.
It's also important to factor in any additional costs that might arise. For instance, if the technician identifies other issues during the repair process, you might need to budget for additional parts and labor.
Prevention: How to Extend the Life of Your Defrost Heater
To keep your refrigerator running optimally and prevent premature failure of parts such as the defrost heater, a proactive approach to maintenance is key. Implementing simple yet effective habits can considerably extend the life of your appliance parts and improve the overall efficiency of your refrigerator.
Regular Cleaning of Refrigerator Coils
The refrigerator coils, often located at the back or bottom of your appliance, play a crucial role in cooling your refrigerator. Over time, they can accumulate dust and grime, reducing their efficiency and forcing your refrigerator to work harder, which can put unnecessary stress on the defrost heater.
By regularly cleaning these coils, you can ensure they work efficiently, reduce the load on your refrigerator's system, and prolong the life of your heater. Typically, using a coil brush or a vacuum with a brush attachment will suffice for this task.
Ensuring Proper Airflow
Overfilling your refrigerator can restrict airflow, forcing your refrigerator to work harder to maintain the desired temperature. This increased load can also affect the defrost heater's longevity. To prevent this, avoid stuffing your refrigerator and ensure there's enough space for air to circulate freely.
Regular Check for Frost Build-Up
Frost build-up in your freezer can indicate that the heater is being overworked. If you notice excessive frost, manually defrosting your freezer can help alleviate the strain on the defrost heater. Remember to unplug the refrigerator when doing this and be careful not to damage the inner surfaces when removing the frost.
Regular Inspections
In addition to these preventative measures, conducting regular overall inspections of your refrigerator can help catch potential issues before they become significant problems. Check for any signs of malfunction like unusual noises, temperature fluctuations, or leaks. If something seems amiss, consider calling a professional for a thorough check-up.


