Fixing a Leaky Dishwasher: Step-by-Step Guide
Dishwashers are indispensable kitchen appliances, simplifying our lives with efficient dish cleaning. However, a leaking dishwasher can quickly turn convenience into concern. In this comprehensive guide, we'll explore the common causes of dishwasher leaks and provide step-by-step DIY solutions to address these issues. Whether it's identifying the source of the leak, troubleshooting internal components, or replacing faulty parts, empowering yourself with knowledge can save you time and money. Additionally, we'll discuss crucial indicators that signal the need for professional intervention. Join us on this journey to understand, troubleshoot, and conquer the challenges of a leaky dishwasher, ensuring a seamless and water-tight kitchen experience.
Identifying the Source of the Leak: Where Is the Water Coming From?
Understanding the origin of a dishwasher leak is crucial for effective troubleshooting. In this section, we'll explore the common areas prone to leaks and guide you on pinpointing the precise source of the issue.
Door Gaskets
Door gaskets create a seal to prevent water from escaping during a wash cycle. Inspect the gasket for visible wear, tears, or misalignment. A damaged gasket can allow water to leak out around the door.
Hoses and Connections
Check the inlet and drain hoses for any signs of cracks, kinks, or loose connections. Leaks in these areas can result in water seepage. Tighten connections and replace damaged hoses as needed.
Pump Seals
The dishwasher pump circulates water during the wash cycle. Leaks can occur if the pump seals are worn or damaged. Examine the pump area for water residue and address any issues with the pump seals.
Valves and Water Inlet
Inspect the water inlet valve for leaks around its connections. A faulty valve may lead to water seeping out. Tighten connections or replace the valve if necessary.
Tub and Tub Seal
Check the dishwasher tub for any visible cracks or damage. Additionally, inspect the tub seal for signs of wear. Cracks in the tub or a compromised seal can result in leaks during operation.
Detergent Dispenser
Ensure the detergent dispenser is functioning correctly. A malfunctioning dispenser may release water at the wrong time, causing leaks. Verify that it opens and closes as intended.
Overflow Float
The float assembly regulates the water level in the dishwasher. If the float is obstructed or damaged, it can lead to overfilling and subsequent leaks. Clean or replace the float if needed.
By systematically examining these areas, you can identify the specific location of the dishwasher leak. This knowledge will serve as a foundation for targeted repairs or replacements, allowing you to address the issue with precision and efficiency.
DIY Inspection and Troubleshooting: Steps to Assess and Diagnose the Issue
Embarking on a DIY inspection and troubleshooting journey is key to uncovering the root causes of dishwasher leaks. In this section, we'll guide you through hands-on steps to assess and diagnose issues, empowering you to identify and resolve common leak problems effectively.
Visual Inspection
Begin by visually examining the exterior and interior components of your dishwasher. Look for visible signs of water accumulation, dampness, or discoloration. Pay special attention to the door, base, and surrounding areas.
Door Gasket Examination
Inspect the door gasket for any visible wear, tears, or misalignment. Run your fingers along the gasket to feel for irregularities. A damaged door gasket is a common culprit for leaks and can be addressed with replacement or resealing.
Hose and Connection Check
Examine the inlet and drain hoses for cracks, kinks, or loose connections. Run your hands along the length of the hoses to detect any abnormalities. Tighten connections securely and replace damaged hoses to prevent leaks.
Pump Area Assessment
Open the dishwasher panel to access the pump area. Check for water residue around the pump and inspect the pump seals for wear or damage. A malfunctioning pump can contribute to leaks and may require seal replacement.
Valve Inspection
Investigate the water inlet valve for signs of leaks around its connections. Ensure that the valve is securely fastened, and replace it if there are visible issues. A faulty valve can lead to water seepage.
Tub and Seal Examination
Scrutinize the dishwasher tub for any cracks or damage. Additionally, inspect the tub seal for wear. Addressing issues with the tub or seal is crucial in preventing leaks during operation.
Detergent Dispenser Functionality
Test the detergent dispenser to ensure it opens and closes correctly. Malfunctions in the dispenser mechanism can result in water being released at inappropriate times, leading to leaks.
Float Assembly Check
Verify the proper functioning of the overflow float assembly. Ensure that it moves freely and isn't obstructed. Clean or replace the float if necessary to prevent overfilling and subsequent leaks.
By systematically conducting this hands-on inspection, you'll gain valuable insights into potential leak sources. This proactive approach enables you to diagnose the issue accurately, setting the stage for targeted troubleshooting and effective DIY solutions.
Fixing Door Gasket Leaks: Replacing and Sealing for Optimal Performance
Addressing door gasket leaks is a crucial step in preventing dishwasher-related water seepage. In this section, we'll delve into the intricacies of door gasket issues, providing you with a step-by-step guide on both replacing and resealing the gasket. By following these detailed instructions, you can effectively resolve leaks and ensure a watertight seal for optimal dishwasher performance.
Gasket Assessment
Begin by thoroughly inspecting the door gasket for visible signs of wear, tears, or deformation. Ensure that the gasket is properly aligned along the edges of the dishwasher door.
Gasket Replacement
If significant damage is detected, it's advisable to replace the gasket entirely. Remove the old gasket by gently pulling it out of its groove. Take note of its orientation for proper installation of the new gasket.
Selecting a Replacement Gasket
Purchase a compatible replacement gasket based on the dishwasher's make and model. Consult the appliance manual or contact the manufacturer for specific gasket recommendations.
Installing the New Gasket
Carefully insert the new gasket into the groove along the perimeter of the dishwasher door. Ensure that it sits securely and uniformly to guarantee a consistent seal.
Resealing the Gasket
In cases where the gasket is still in good condition but may not be providing an effective seal, consider resealing it. Apply a thin layer of dishwasher-safe silicone sealant along the gasket's surface, paying attention to any areas showing signs of wear.
Ensuring Proper Alignment
After replacement or resealing, ensure that the gasket aligns correctly when the dishwasher door is closed. Check for any folds or twists that might compromise the seal.
Closing and Testing
Close the dishwasher door and run a short cycle to confirm that the new gasket or sealant creates a watertight barrier. Monitor for any signs of leaks during the cycle.
Regular Maintenance
Incorporate routine checks of the door gasket into your dishwasher maintenance routine. Cleaning the gasket regularly and inspecting it for wear will contribute to its longevity and effectiveness.
By addressing door gasket issues through replacement or resealing, you'll effectively resolve leaks and maintain a reliable watertight seal. Following these step-by-step instructions ensures optimal dishwasher performance and prevents water-related complications.
Addressing Hose and Pump Concerns: DIY Solutions for a Leaky Dishwasher
When it comes to tackling dishwasher leaks, understanding the role of hoses and pumps is essential. In this section, we'll explore the functions of these critical components and provide practical DIY solutions to address leaks stemming from hoses and pumps.
Inspecting Inlet and Drain Hoses
Start by visually examining the inlet and drain hoses for any visible issues such as cracks, kinks, or loose connections. Run your hands along the length of the hoses to detect abnormalities.
Tightening Hose Connections
Ensure that all hose connections, including the inlet and drain connections, are securely tightened. Use adjustable wrenches to tighten any loose connections, preventing water from seeping out.
Replacing Damaged Hoses
If you identify cracks or significant damage in the hoses, it's advisable to replace them. Purchase compatible replacement hoses and follow the manufacturer's guidelines for installation.
Assessing the Dishwasher Pump
Open the dishwasher panel to access the pump area. Inspect the pump for any signs of wear, damage, or water residue. A malfunctioning pump can contribute to leaks and may require seal replacement.
Addressing Pump Seal Issues
If the pump seals are worn or damaged, consider replacing them. Disconnect the dishwasher from power, follow the manufacturer's instructions for accessing the pump, and replace the seals following the provided guidelines.
Verifying Water Inlet Valve Integrity
Examine the water inlet valve for any leaks around its connections. If you identify issues, tighten the connections or replace the valve as necessary to prevent water seepage.
Running a Test Cycle
After making any adjustments or replacements, run a test cycle to observe the dishwasher's performance. Keep a close eye on the hoses and pump area for any signs of leakage during the cycle.
Regular Maintenance Practices
Incorporate regular maintenance practices, including checking hoses and pump components, into your dishwasher care routine. This proactive approach helps identify and address potential issues before they escalate.
By taking a hands-on approach to inspecting and troubleshooting hoses and pumps, you can effectively address leaks in your dishwasher. These practical DIY solutions empower you to maintain the integrity of these components and ensure the optimal functioning of your dishwasher.
Examining the Dishwasher Tub: Crack Identification and Repair Techniques
Dishwasher tub cracks can be a significant source of leaks, impacting the appliance's performance. In this section, we'll delve into the potential issue of tub cracks, guiding you on how to identify and employ repair techniques to address this concern and prevent water seepage.
Visual Inspection for Tub Cracks
Conduct a thorough visual examination of the dishwasher tub. Look for any visible cracks, especially along the bottom and sides of the tub. Small cracks may be challenging to spot, so pay attention to subtle signs like water stains or dampness.
Feeling for Irregularities
Run your hands along the interior of the dishwasher tub, feeling for irregularities or roughness that may indicate the presence of cracks. Focus on areas where water is likely to accumulate during a cycle.
Water Stains and Dampness
Check for water stains or dampness beneath the dishwasher, which may indicate that water is leaking from the tub. This can be a valuable clue in identifying cracks that might not be immediately visible.
Using a Flashlight for Precision
Illuminate the dishwasher tub with a flashlight to inspect it more closely. Shine the light at different angles to reveal any cracks that might be obscured by shadows or reflections.
Temporary Crack Sealing Techniques
For minor cracks, consider using dishwasher-safe epoxy or sealant as a temporary fix. Apply the sealant directly to the cracked area, following the product's instructions. Keep in mind that this is a short-term solution.
Replacing the Dishwasher Tub
If you identify significant or multiple cracks, replacing the dishwasher tub may be the most effective long-term solution. Consult the appliance manual or contact the manufacturer for guidance on obtaining a compatible replacement tub.
Professional Assessment
If you're uncertain about the severity of tub cracks or if DIY solutions prove insufficient, seek professional assistance. A dishwasher repair technician can conduct a comprehensive assessment and recommend appropriate measures.
Preventive Measures
Incorporate preventive measures, such as avoiding overloading the dishwasher or using it for purposes other than dishwashing, to minimize stress on the tub and reduce the likelihood of future cracks.
By inspecting the dishwasher tub, identifying cracks, and employing suitable repair techniques, you can address this potential source of leaks. Whether opting for temporary fixes or considering a tub replacement, taking prompt action enhances the efficiency and longevity of your dishwasher.
When to Seek Professional Help: Signs That Your Dishwasher Leak Requires Expert Assistance
Knowing when to seek professional help is crucial in addressing dishwasher leaks effectively. In this section, we'll explore signs that indicate your leak issue may require expert assistance, guiding you on when it's prudent to enlist the expertise of a professional dishwasher technician.
Persistent or Worsening Leaks
If the dishwasher continues to leak despite your DIY efforts or if the leaks worsen over time, it's a clear indication that the issue may be more complex. Persistent leaks suggest underlying problems that require professional assessment.
Unidentifiable Source of the Leak
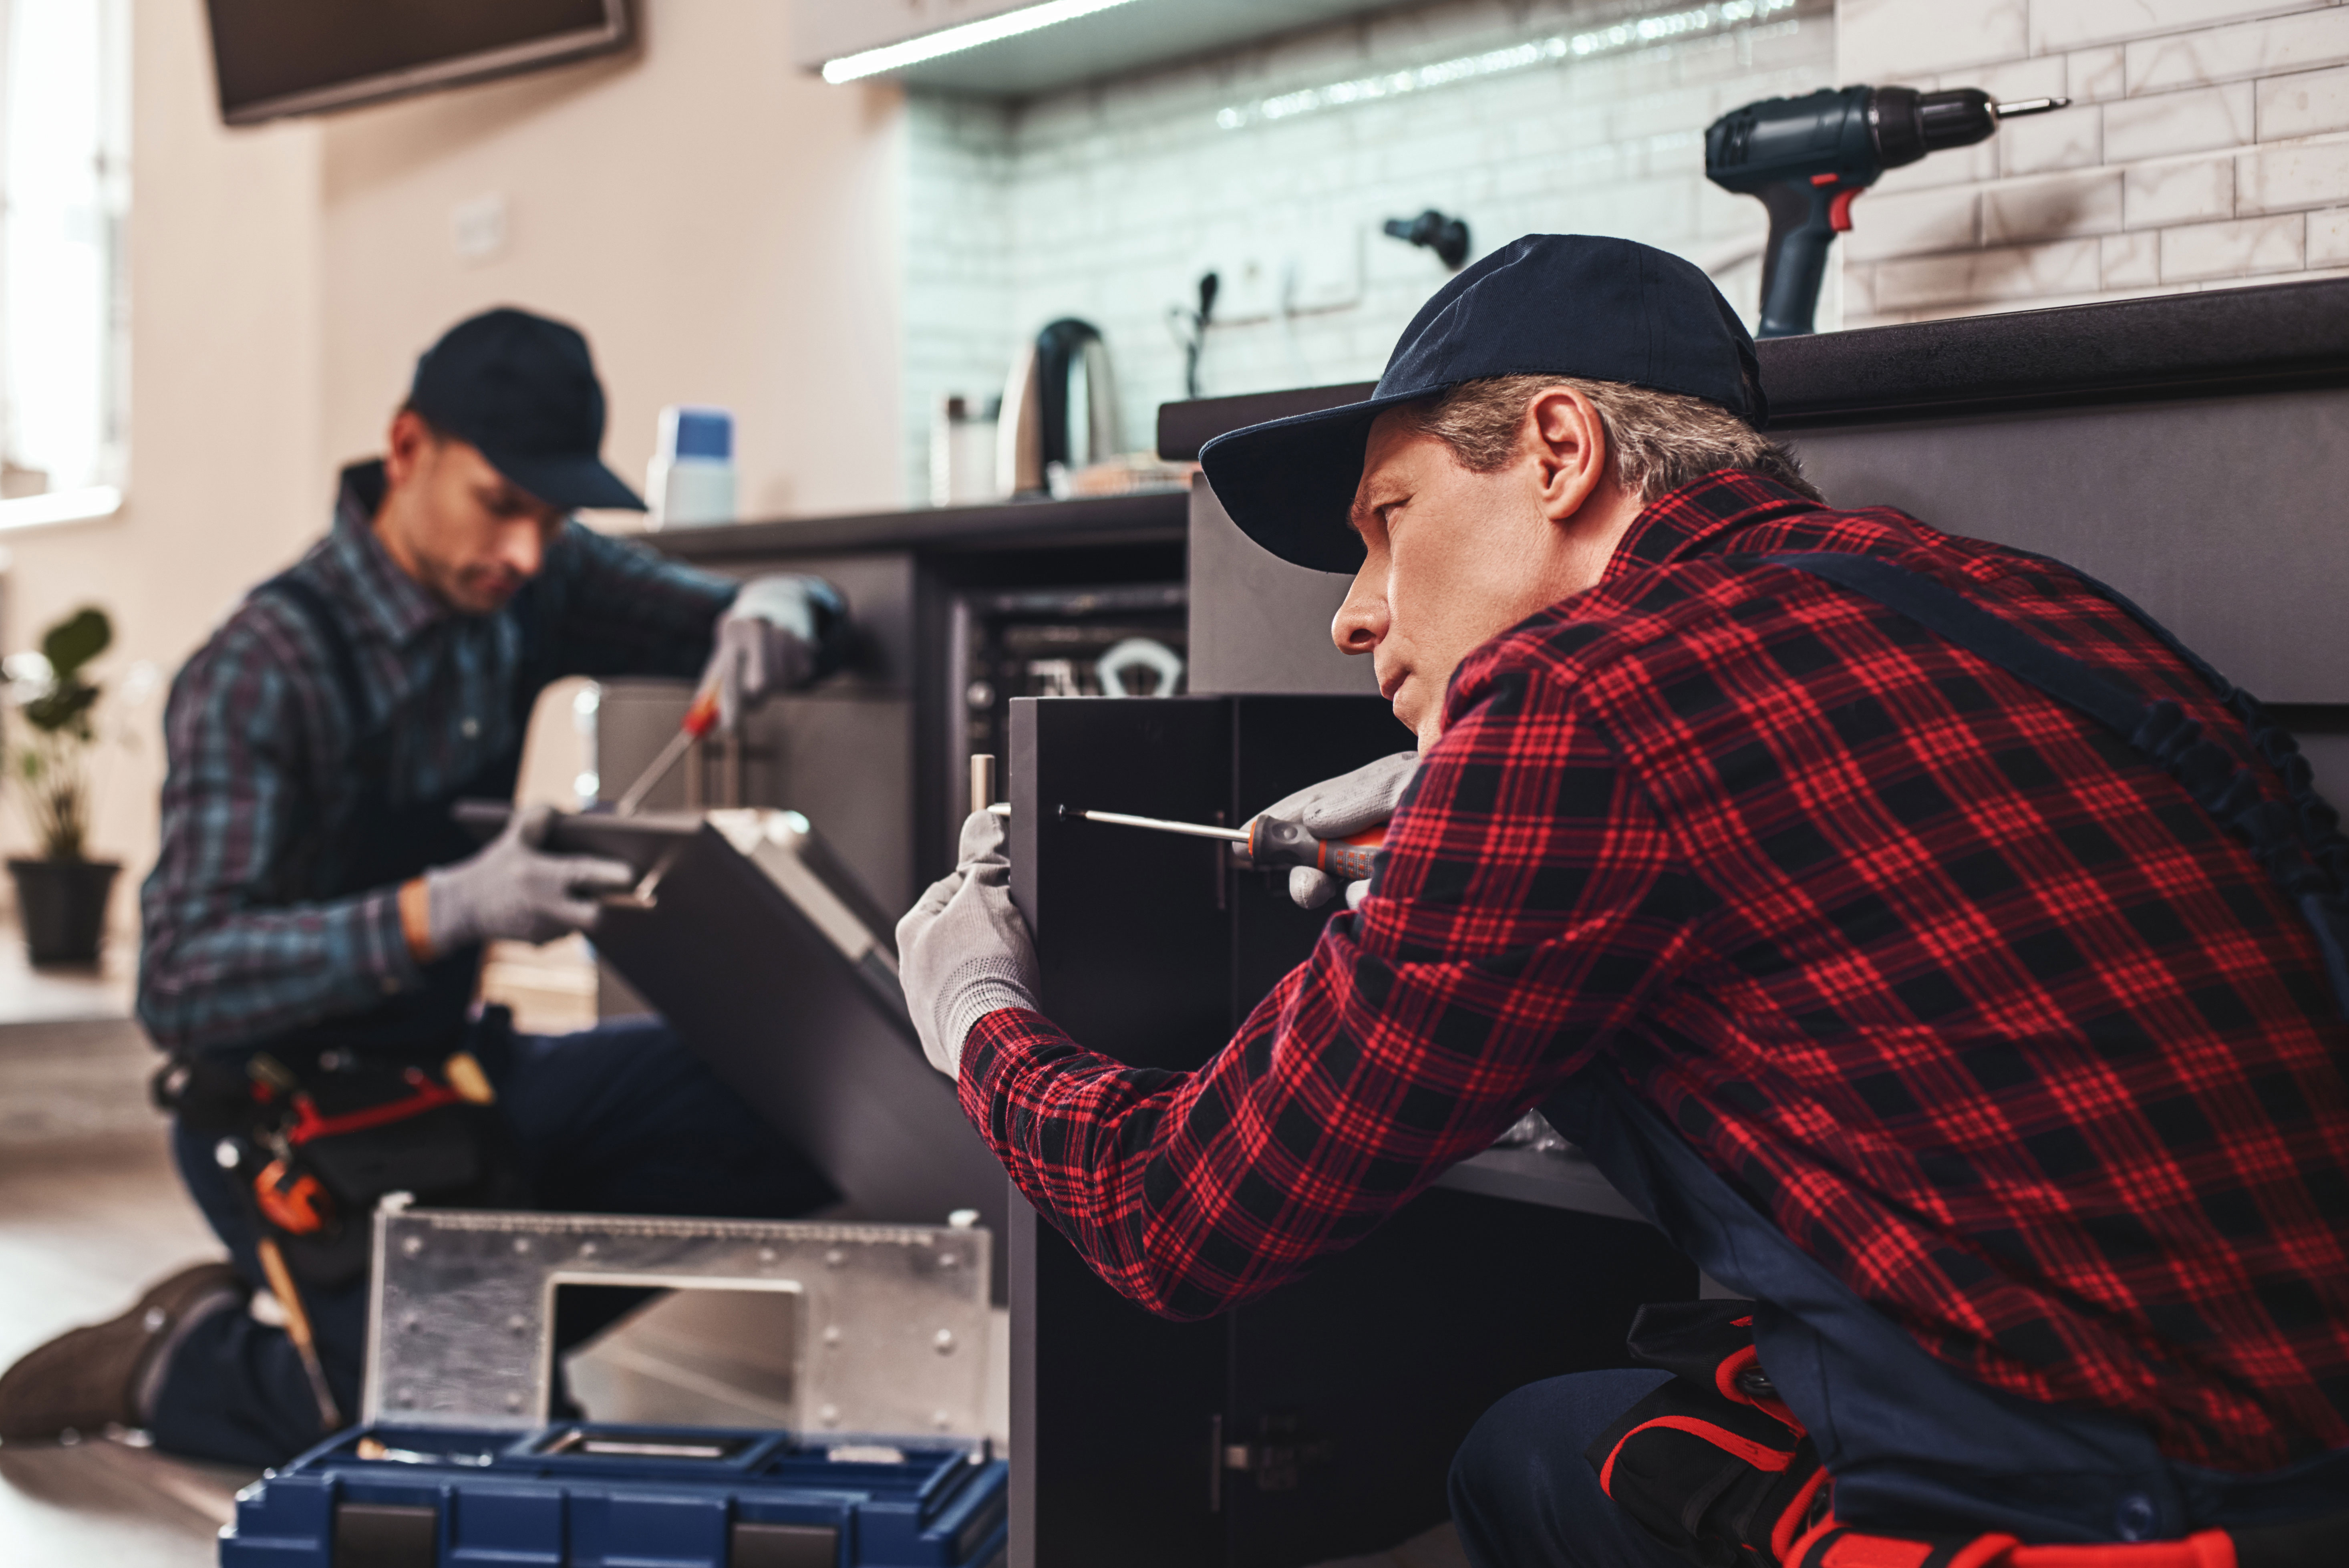
When you can't pinpoint the exact source of the leak or if it's originating from internal components that are challenging to access, seeking professional help becomes essential. Technicians have the expertise and tools to diagnose and address hidden issues.
Electrical or Wiring Concerns
If you observe water pooling around electrical components or wiring within the dishwasher, it poses a significant safety risk. In such cases, it's imperative to turn off the appliance immediately and consult a professional technician to address both the leak and potential electrical hazards.
Strange Noises During Operation
Unusual noises, such as grinding or thumping sounds, accompanied by leaks, may indicate mechanical issues within the dishwasher. Professional technicians can perform a comprehensive inspection to identify and rectify these mechanical issues.
Visible Damage to Components
If you notice visible damage to essential components like the pump, motor, or seals, it's advisable to seek professional assistance. Attempting to repair or replace such components without proper knowledge may exacerbate the problem.
Excessive Water Usage
A sudden increase in water consumption without a corresponding increase in dishwasher usage can be a sign of an internal leak. Professional technicians can conduct a thorough examination to identify the root cause and implement necessary repairs.
Unusual Odors or Mold Growth
Leaks can lead to stagnant water, fostering mold growth and producing unpleasant odors. If you detect these signs, it's an indication that the leak has persisted for an extended period, necessitating professional intervention to address both the leak and its consequences.
Manufacturer's Warranty Coverage
If your dishwasher is still under warranty, attempting extensive DIY repairs may void the warranty. Contacting the manufacturer or an authorized service provider ensures that repairs are conducted within warranty terms, minimizing costs and ensuring quality work.
By recognizing these signs, you can make an informed decision on whether to continue with DIY efforts or seek the expertise of a professional dishwasher technician. Addressing the issue promptly and appropriately ensures the continued efficiency and safety of your dishwasher.


